Jira
What are the benefits of integrating Jira with the ARMO Platform?
- ARMO Platform provides bi-directional integration with Jira which reflects the ticket status.
- It supports multiple issue types and allows you to set the reporter and assignee.
- It supports mandatory fields and shows indicators for visibility and tracking.
- The platform also provides a link within the ticket for easy access to the ARMO Platform.
Set up your Jira integration
- Go to the Jira integration settings page. This page allows you to configure your Jira site integration(s).
- Start the Integration Process: Click the Connect button.

Jira Cloud Integration
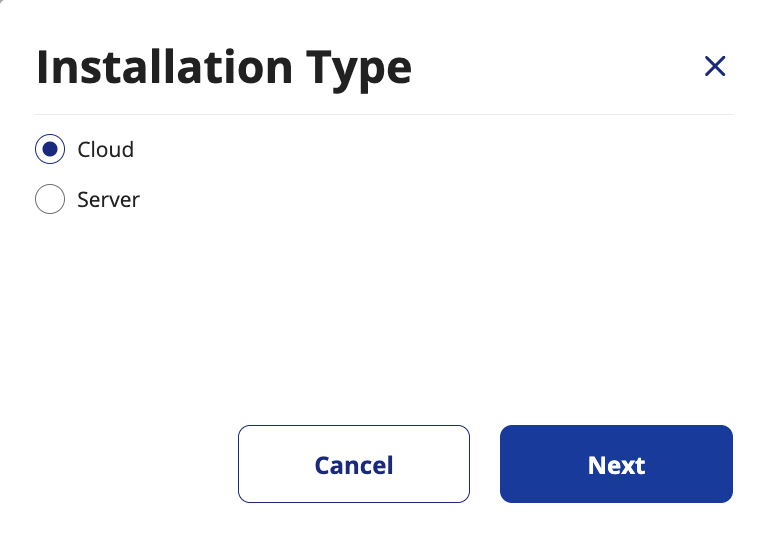
- Choose Installation Type: Select the Cloud option and click the Next button.
- Authenticate with Atlassian: Click the Accept button on the Atlassian authentication page to allow ARMO to access your Jira account.

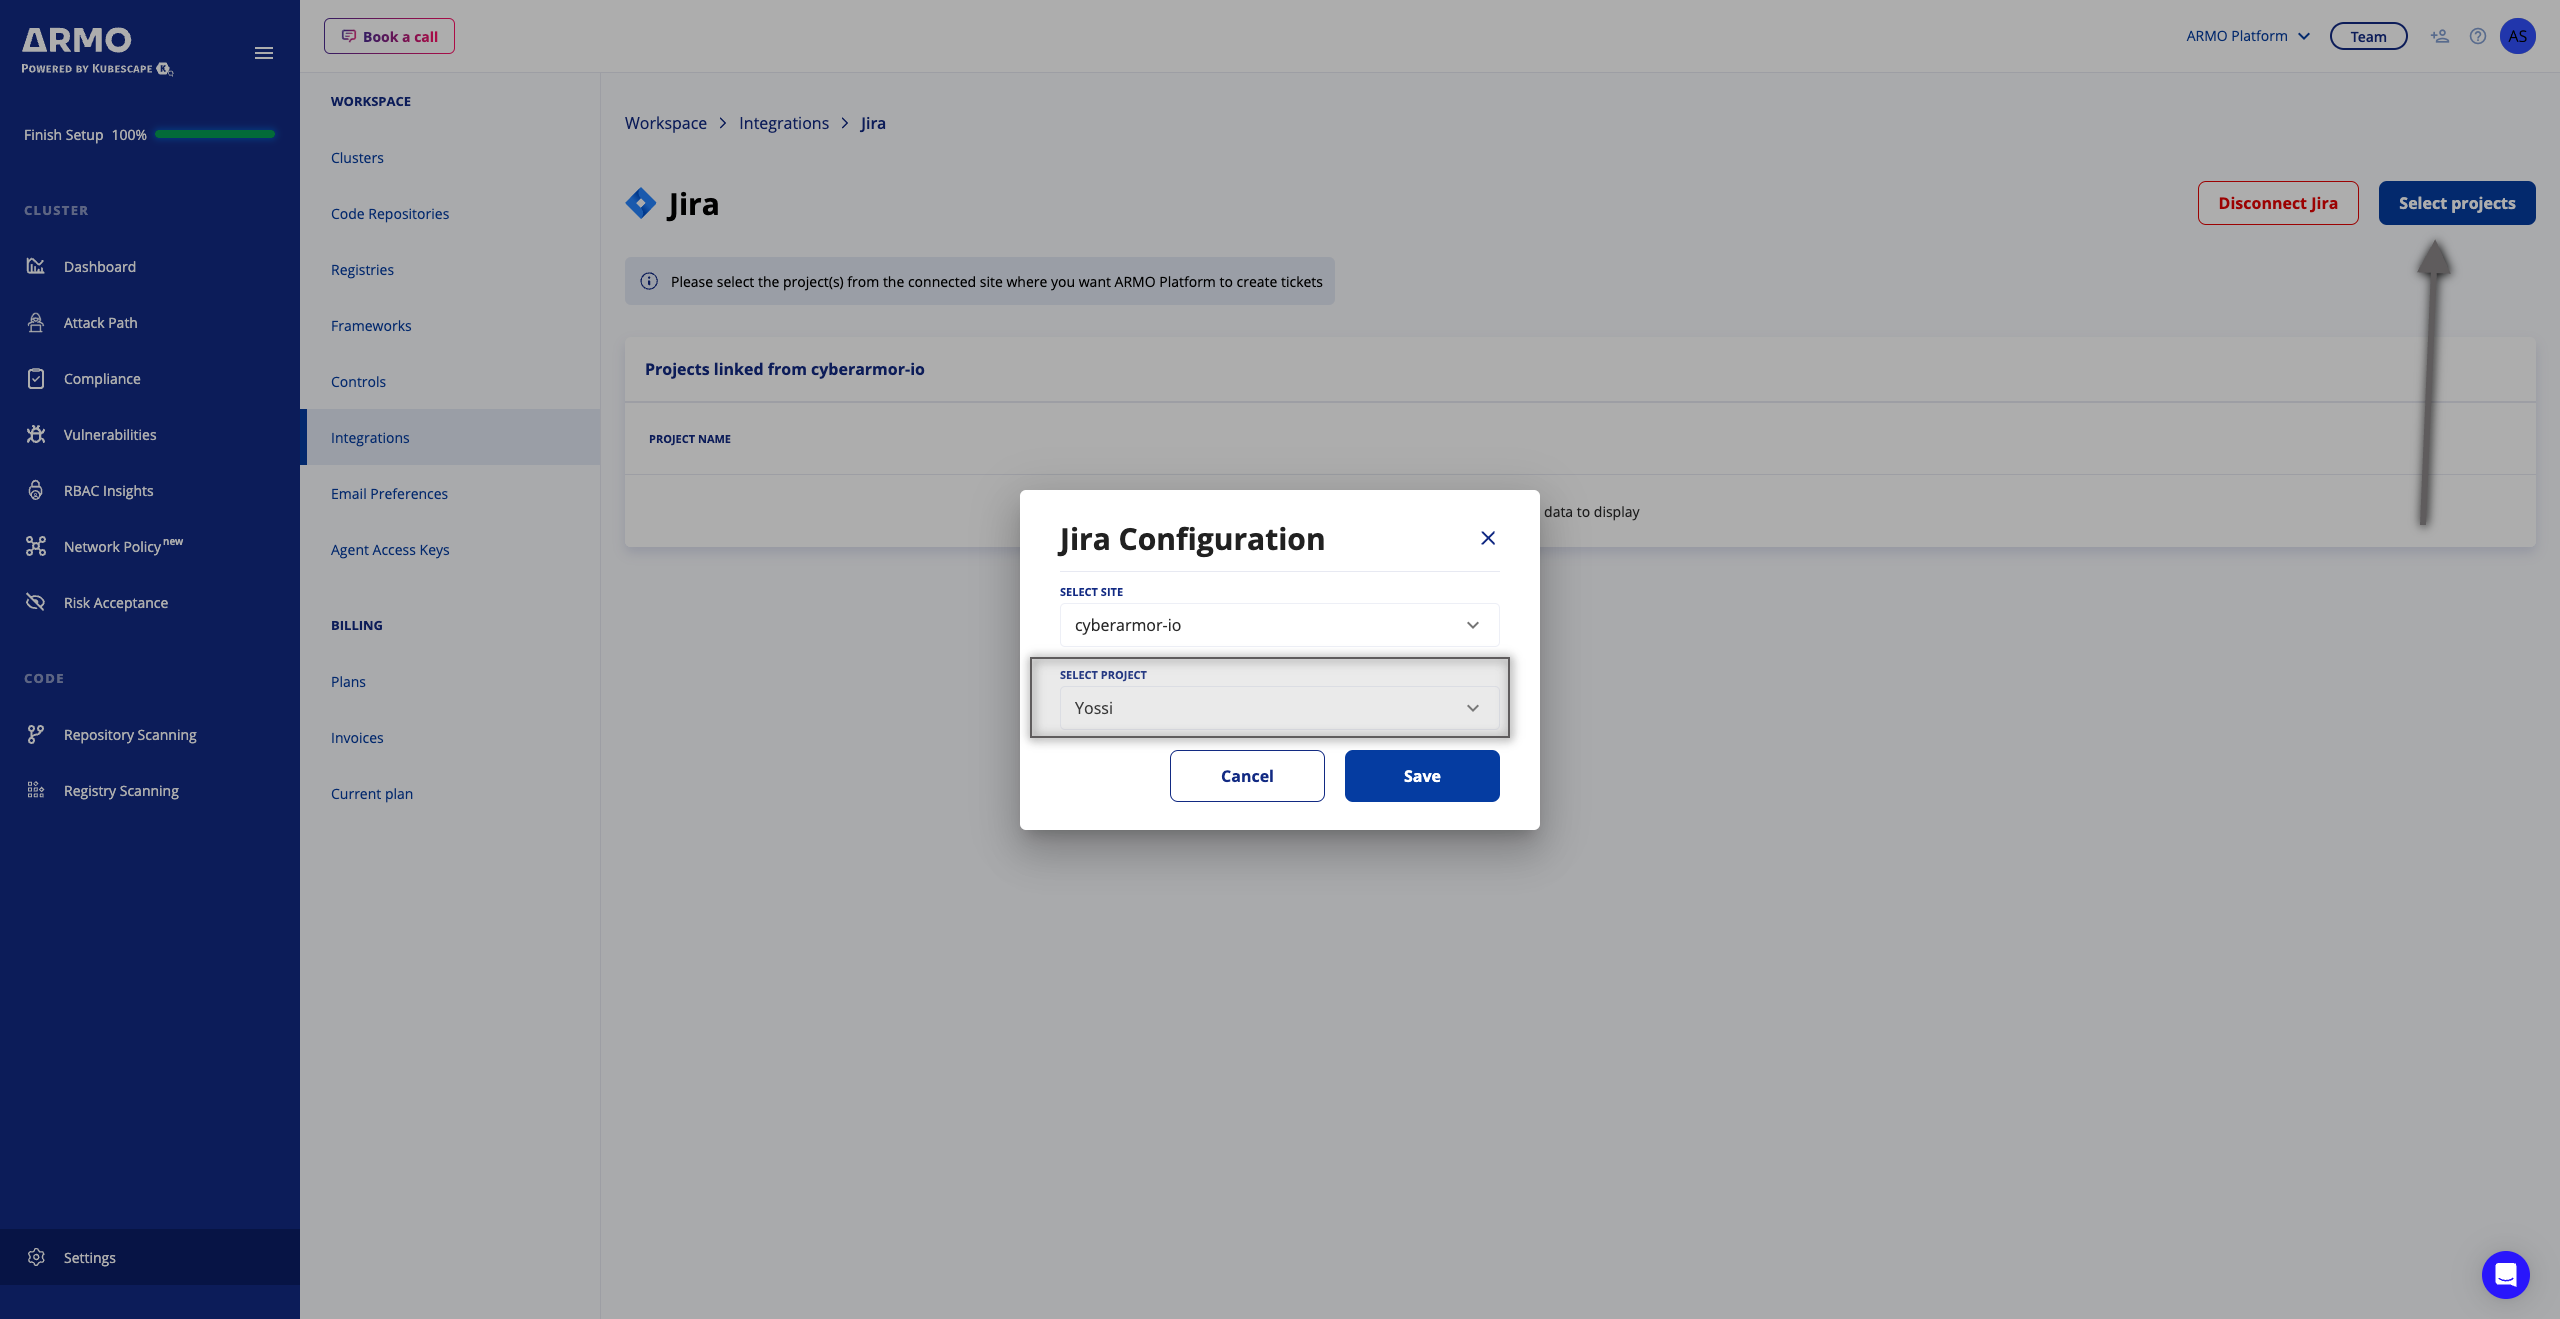
- Select Projects: Click the Select Projects button and choose the projects you want to integrate with ARMO.
Jira Server Integration
- Choose Installation Type: Select the Server option and click the Next button.
- Enter API Token and Jira URL:
-
In the "API Token" field, enter the API token you generated in Jira. (Refer to the steps below on how to generate this token in Jira.)
-
In the "JIRA URL" field, enter the URL of your Jira server. The URL should follow the format https://your-jira-server.example.com.
-
Click the Next button to proceed with the configuration.
-
If you need to cancel the configuration at any point, click the Cancel button.
-

Generating an API Token in Jira
To generate an API token in Jira, follow these steps under your Jira server:
- Log in to your Jira account.
- Access Account Settings: Click on your profile icon in the top right corner and select Account settings.
- Navigate to Security: Go to the Security section.
- Create API Token:
- Under API tokens, click on Create and manage API tokens.
- Click on Create API token.
- Give your token a label/name and click Create.
- Copy the generated API token. You will need this for the ARMO configuration.
Create a ticket
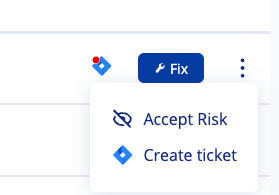
After you set up the Jira integration connection, you can create a Jira issue for any security finding on the ARMO Platform by clicking the 3 dots menu --> Create ticket
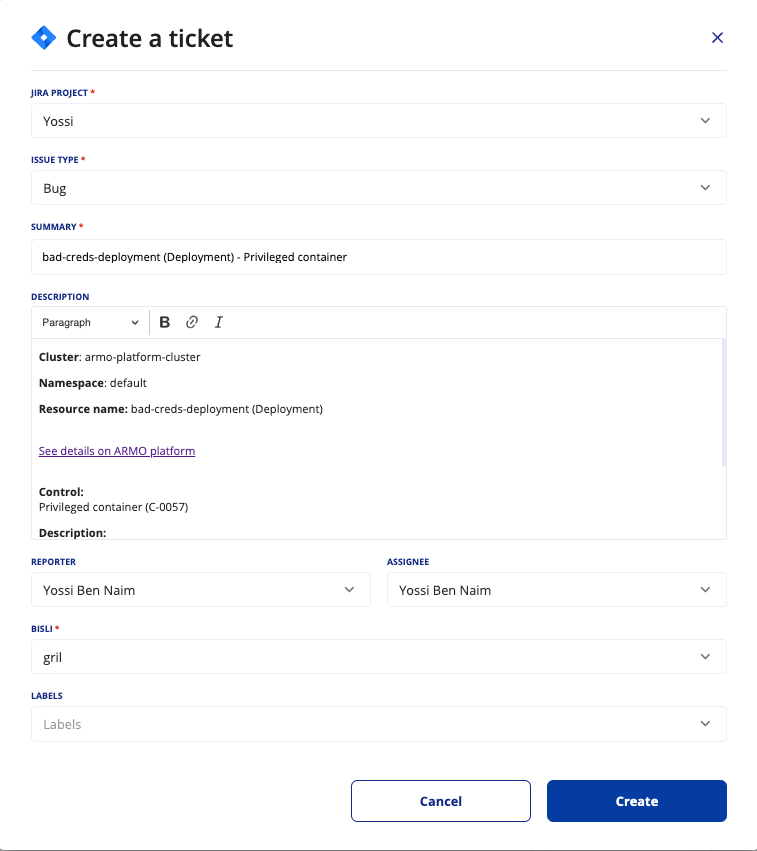
When you click Create ticket, a Jira ticket creation form appears. This form includes the details of ARMO Platform's findings, which are copied into the associated fields. You can review and edit this form before creating the ticket.
Select the Jira project and the Issue type to which you want to send the ticket. The fields in the example below are based on the specific Project, so different Projects may show different options.
Jira ticket indicator
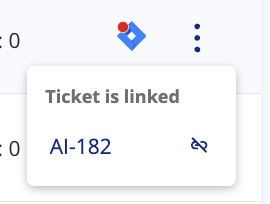
After opening a Jira ticket, you will find a Jira icon on that security issue, indicating there is a ticket assigned. When you mouse hover over that Jira icon, you can see the attached ticket identifier and a link to the Jira ticket.
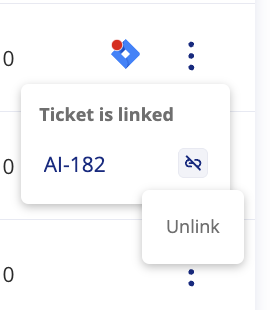
Unlink a Jira ticket
In case you want to unlink a Jira ticket that is attached to a security issue, simply click the Unlink button, and approve the Unlink action on the dialog
Automatically Close Jira Tickets When Issues Are Resolved
Overview
This feature streamlines issue lifecycle management between ARMO and Jira. When security issues are remediated or no longer detected in ARMO, the corresponding Jira tickets are automatically transitioned to a user-defined status (e.g., Done, Resolved).
This eliminates manual ticket tracking, ensuring your Jira backlog always reflects the true state of your environment.
How It Works
When ARMO detects that a previously open issue (such as a vulnerability, compliance violation) is no longer present, it automatically triggers a synchronization event with Jira. If automatic closure is enabled for the Jira project, ARMO transitions the corresponding Jira ticket to the predefined status and adds a comment explaining the reason.
If the issue later reappears in ARMO, a new Jira ticket will be created, ensuring a clean separation between historical and current issues.
Configuration Steps
-
Navigate to Integrations → Jira Settings
Open your Jira integration configuration in the ARMO Platform.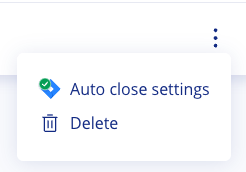
-
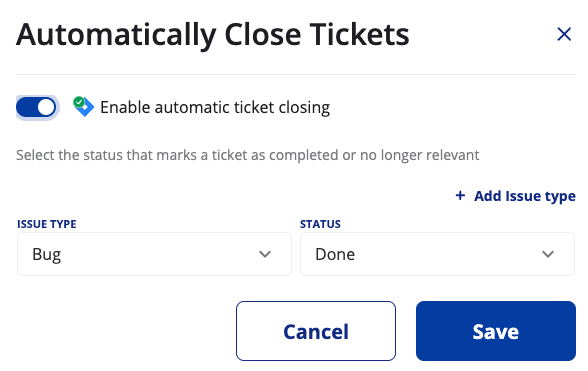
Enable Auto-Close Behavior
Toggle Enable automatic ticket closing to ON. -
Define Target Status Per Issue Type
For each issue type (e.g., Bug, Task), select the Jira status to transition closed issues to — for example:- Task → Done
- Bug → Resolved
-
Save Configuration
Once saved, ARMO will automatically manage the ticket transitions according to the selected settings.
Behavior Details
| Scenario | Expected Behavior |
|---|---|
| Issue resolved in ARMO | Jira ticket transitions to the selected “closed” status. A comment is added: “This issue was resolved in ARMO and automatically closed.” |
| Issue manually closed in Jira | No further action is taken by ARMO. |
| Issue reappears in ARMO | A new Jira ticket is created, the previous one remains in its closed state. |
| Feature disabled | No automatic updates are made to Jira tickets. Manual management is required. |
Example Jira Comment

Key Benefits
- Save Time: Eliminate manual ticket closure.
- Improve Accuracy: Keep Jira perfectly aligned with ARMO issue states.
- Reduce Noise: Maintain a clear, actionable backlog focused on active issues.
- Simplify Workflows: Automate closure per project and issue type.
Notes
- Auto-closure applies only to issues that originated from ARMO.
- Each Jira project can independently enable or disable the feature.
- Jira statuses must exist and be valid for the selected issue type.