Scanning registries
Scan your images for vulnerabilities before you deploy them to a cluster or access the risk of public images using registry scanning.
Kubescape scans up to 500 image tags for a single registry. The depth is calculated by the lexical order, and latest is always considered the latest if it exists.
Before you begin
- Install our helm chart in your cluster. Registry scanning uses the host scanner, which is installed with the in-cluster components.
- Set up Kubectl permissions so you can create configMaps and secrets in the
kubescapenamespace.
Supported registries
ARMO Platform explicitly supports the following registry providers:
- ECR
- GCR
- Harbor
- Quay
Registries that support the /v2/_catalog and /v2/<name>/tags/list official APIs with regular docker credentials are also supported through the Generic option.
Connecting a Registry
To connect a registry, follow these steps:
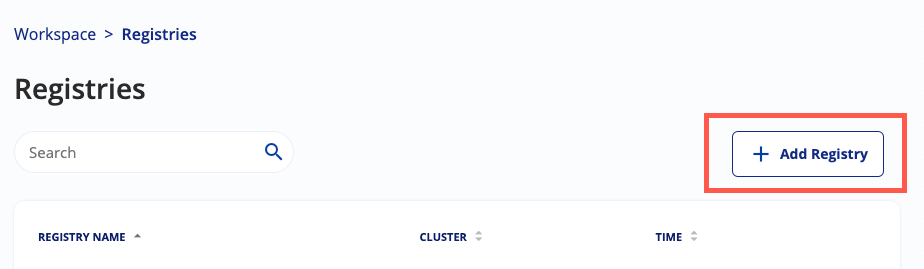
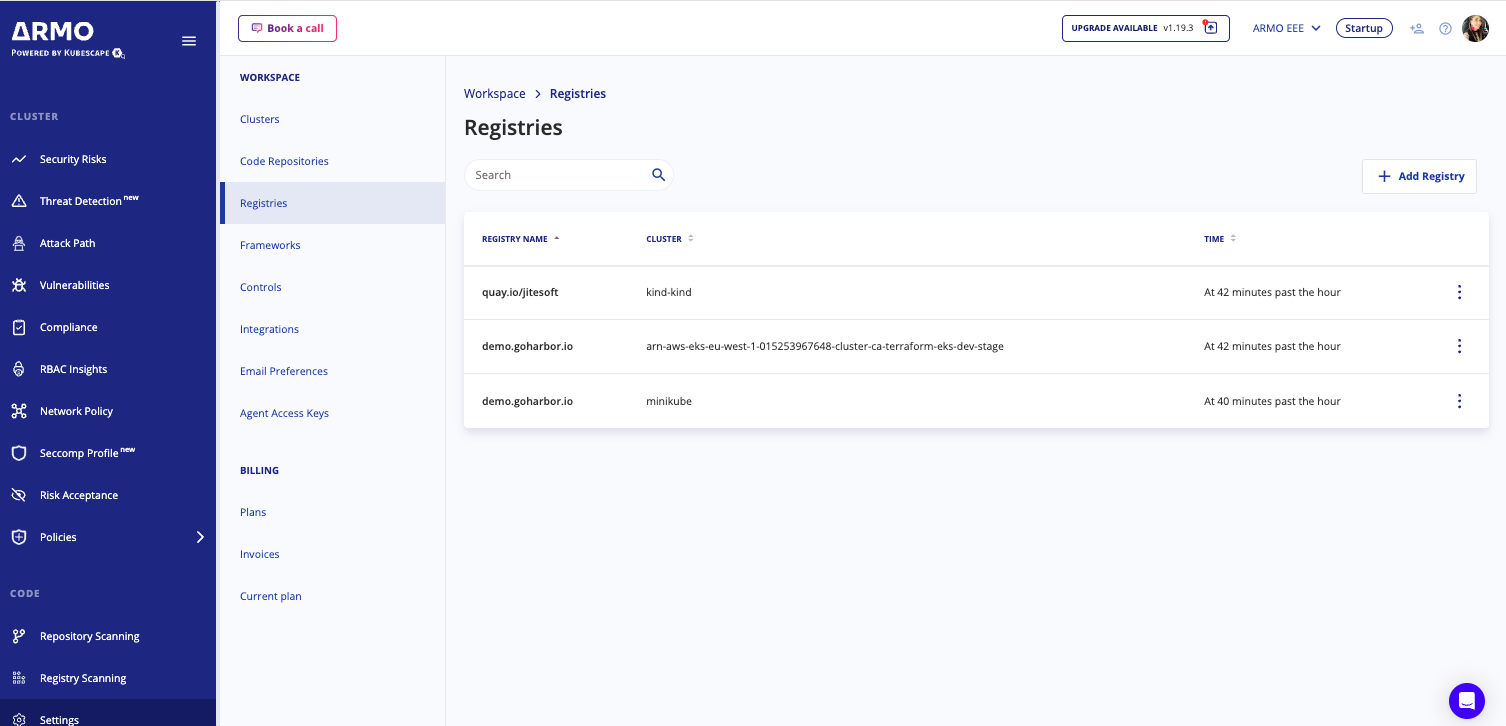
- Navigate to Settings, and then click Registries.
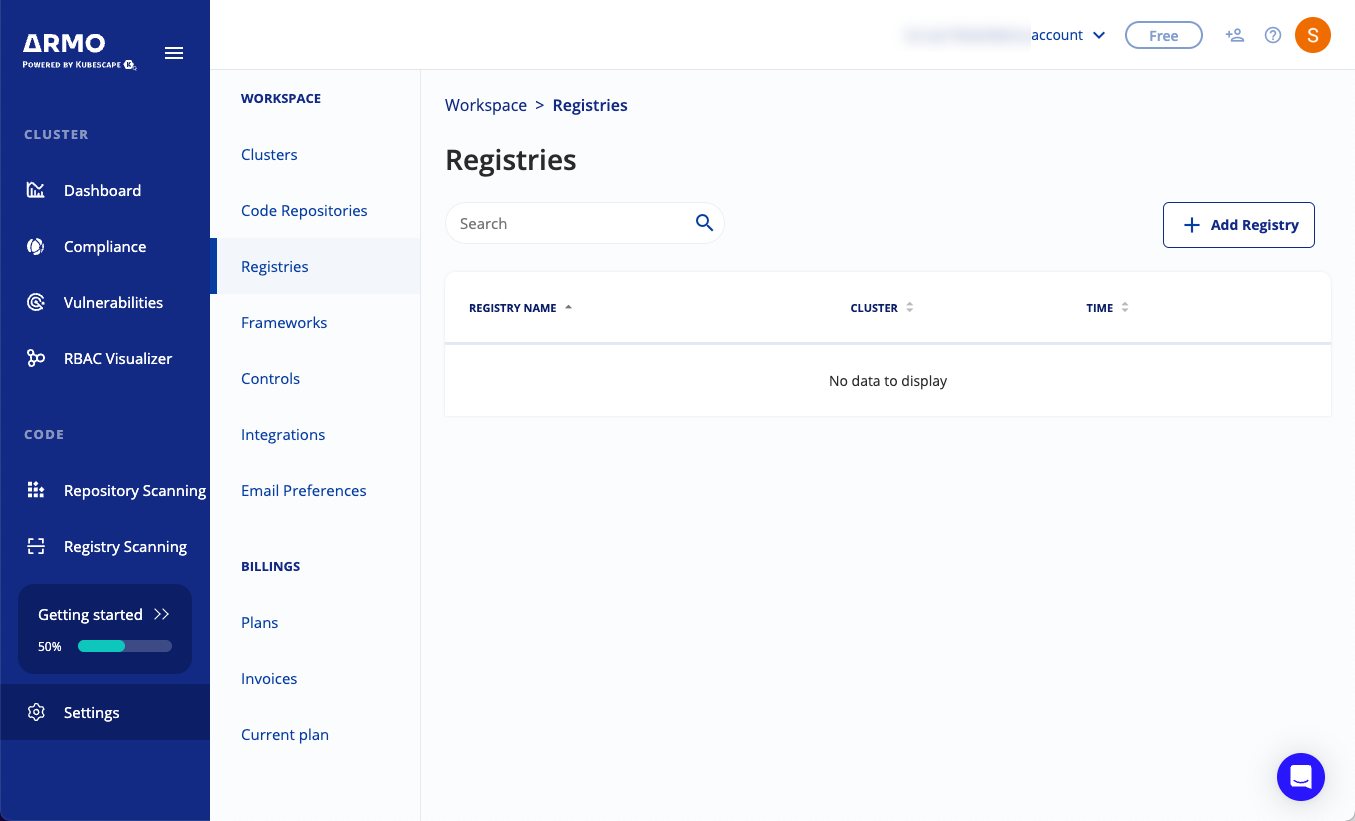
- Click Add Registry.
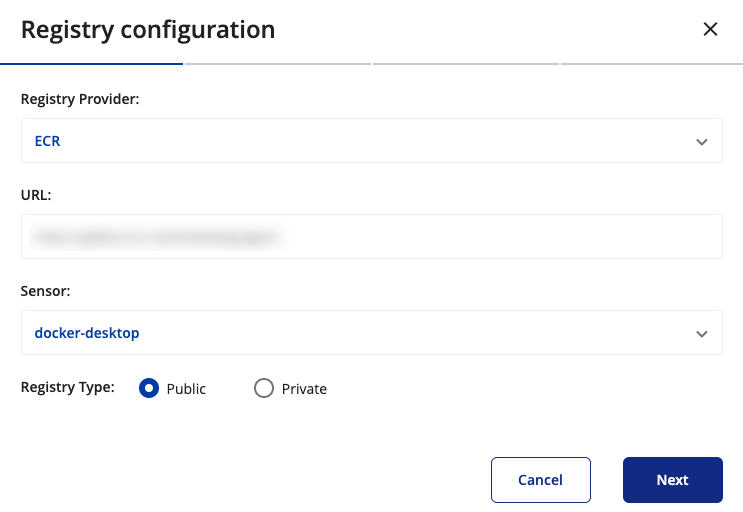
- Select the Registry Provider, select your registry provider from the available options. This identifies the type of registry you are connecting to.
- Enter the URL: Provide the registriy's domain. This is the URL where the registry can be accessed. FQDN. So if your registry it at https://docker.example.com/ then supply
docker.example.com. - Choose a Sensor: Select a sensor from the list. The sensor is a cluster, where
kubescapeis installed and running, that you want to use to scan your registry. This cluster will be responsible for downloading and scanning the images from the registry. If you have a lot of registries or very big registries, it is wise to divide the load over more than one sensor! - Select Public in the Registry Type, in case you need to connect a public registry click nextNext.
to connect a private registry select Private in the Registry Type, and then click Next. Choose the authentication method you want to use to connect to the registry.
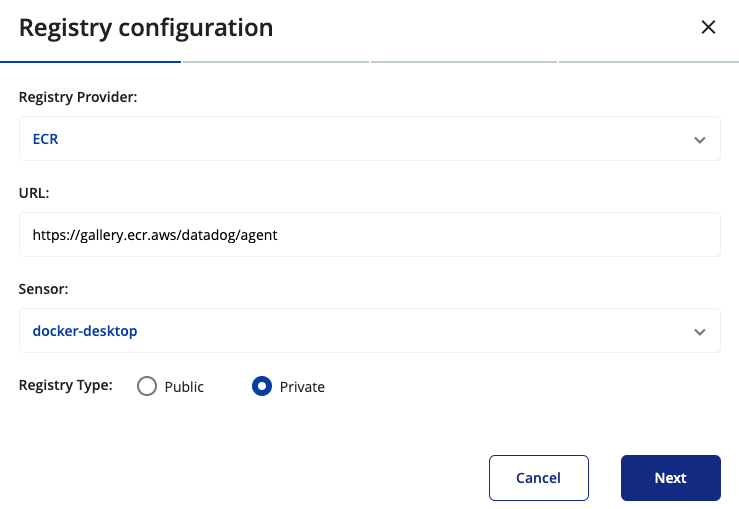
-
- If you want to use Cloud provider IAM, you must set up AWS or GCP IAM authorization. See below for more information.
- If you use Harbor, create a dedicated robot account for kubescape to use. This account should the following system permissions:
- Catalog: Read
- Registry: List & Read
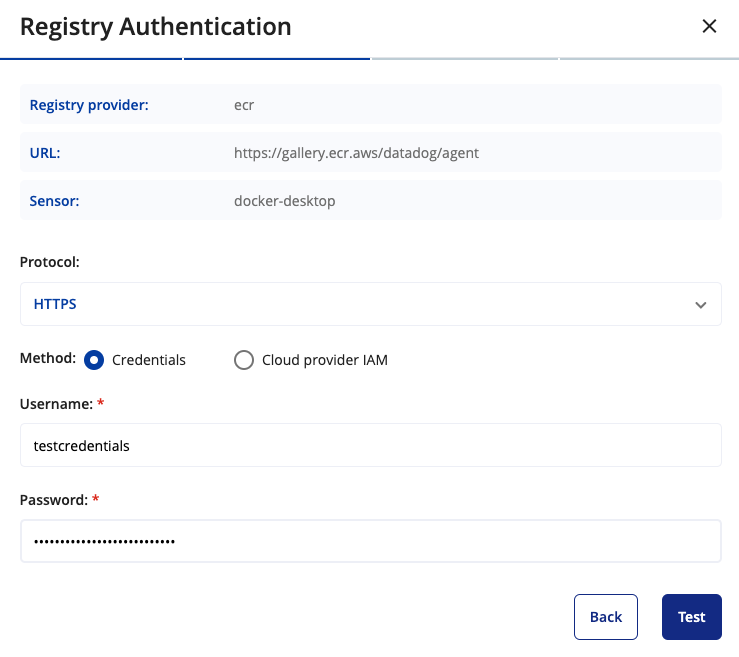
- Choose the protocol you want to use to communicate with the registry. If you are using HTTPS with a self-signed certificate, you can enable the option to "skip certificate validation" to bypass certificate validation errors.
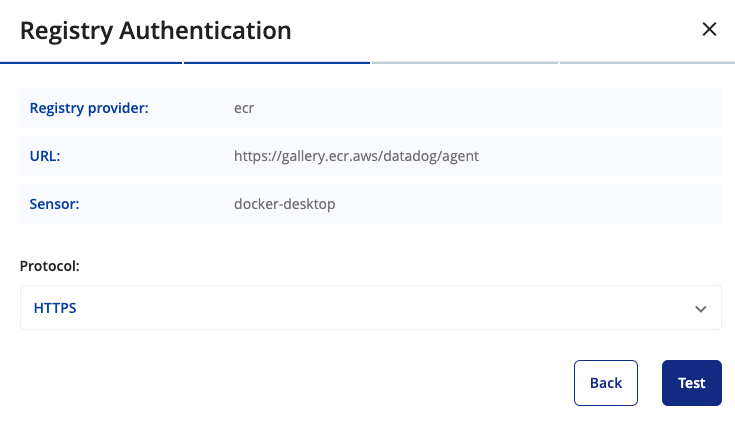
- Click Test. ARMO Platform communicates with the registry to ensure all entries are correct.
- When successful, click Continue to add and scan the registry.
After entering this information, the inputs will be validated. You will receive an indication whether the registry is successfully connected or if there were any issues that need to be resolved.
Scheduling Scans
After successfully connecting the cluster, you can schedule scans for your registry repositories. Here’s how to do it:
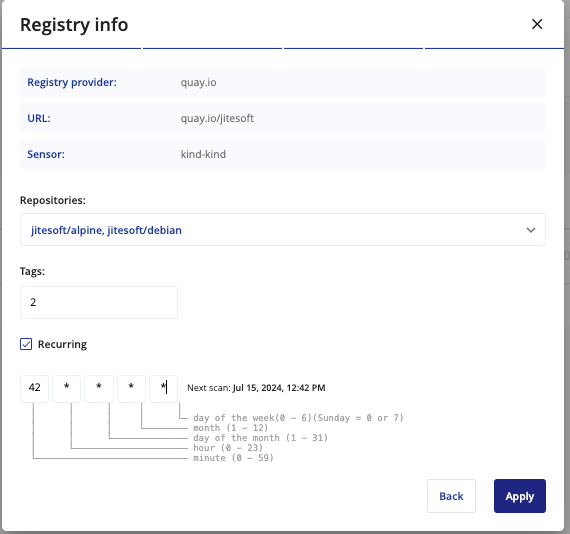
Choose the Registry Repositories: Select the specific repositories within your registry that you wish to scan.
Select Tags: Choose the tags for each repository that you want to include in the scan. Tags help identify specific versions or configurations of your images.
Set Up Recurring Scans: If you want the scans to occur regularly, choose the recurring option. This will schedule the scans to happen automatically based on the specified schedule format.
By configuring these settings, you ensure that your images are regularly scanned for vulnerabilities, keeping your environment secure. Below is an illustration of the scheduling interface:
If the scan is scheduled as recurring, it will appear under Settings > Registries, allowing you to manage and review your scheduled scans.
Walkthrough: How to grant permissions for my ECR/GCR Image registry?
Kubescape supports IPS authentication to enable cloud provider native authentication.
To setup cloud provider authentication use the following script examples:
Updated 9 months ago