Onboard GCP Project
Overview
ARMO’s GCP Cloud Security Posture Management (CSPM) integration provides continuous visibility into the security posture of your Google Cloud environment. By securely connecting a GCP service account, ARMO can analyze cloud resources, identities, IAM policies, network exposure, and audit logs to identify misconfigurations, compliance gaps, and attack paths across projects and organizations.
Prerequisites
| Item | Requirement |
|---|---|
| ARMO Platform | You have an admin or Manager access to the ARMO Platform |
| GCP Owner | Owner or IAM Admin permissions in the target GCP project |
| GCP Permissions |
|
Required IAM Roles
| Role Name | Type | Purpose |
|---|---|---|
| Viewer | Predefined | Read-only access to cloud resources |
| Security Reviewer | Predefined | View IAM policies, roles, and bindings |
| Service Usage Consumer | Predefined | Allows ARMO to call enabled APIs |
| Custom Role | Custom | Allows ARMO to read bucket IAM policies |
High-Level Onboarding Flow
The GCP onboarding process in ARMO establishes secure, read-only access so ARMO can continuously analyze your cloud configuration, IAM posture, asset inventory, and audit logs.
Flow Overview
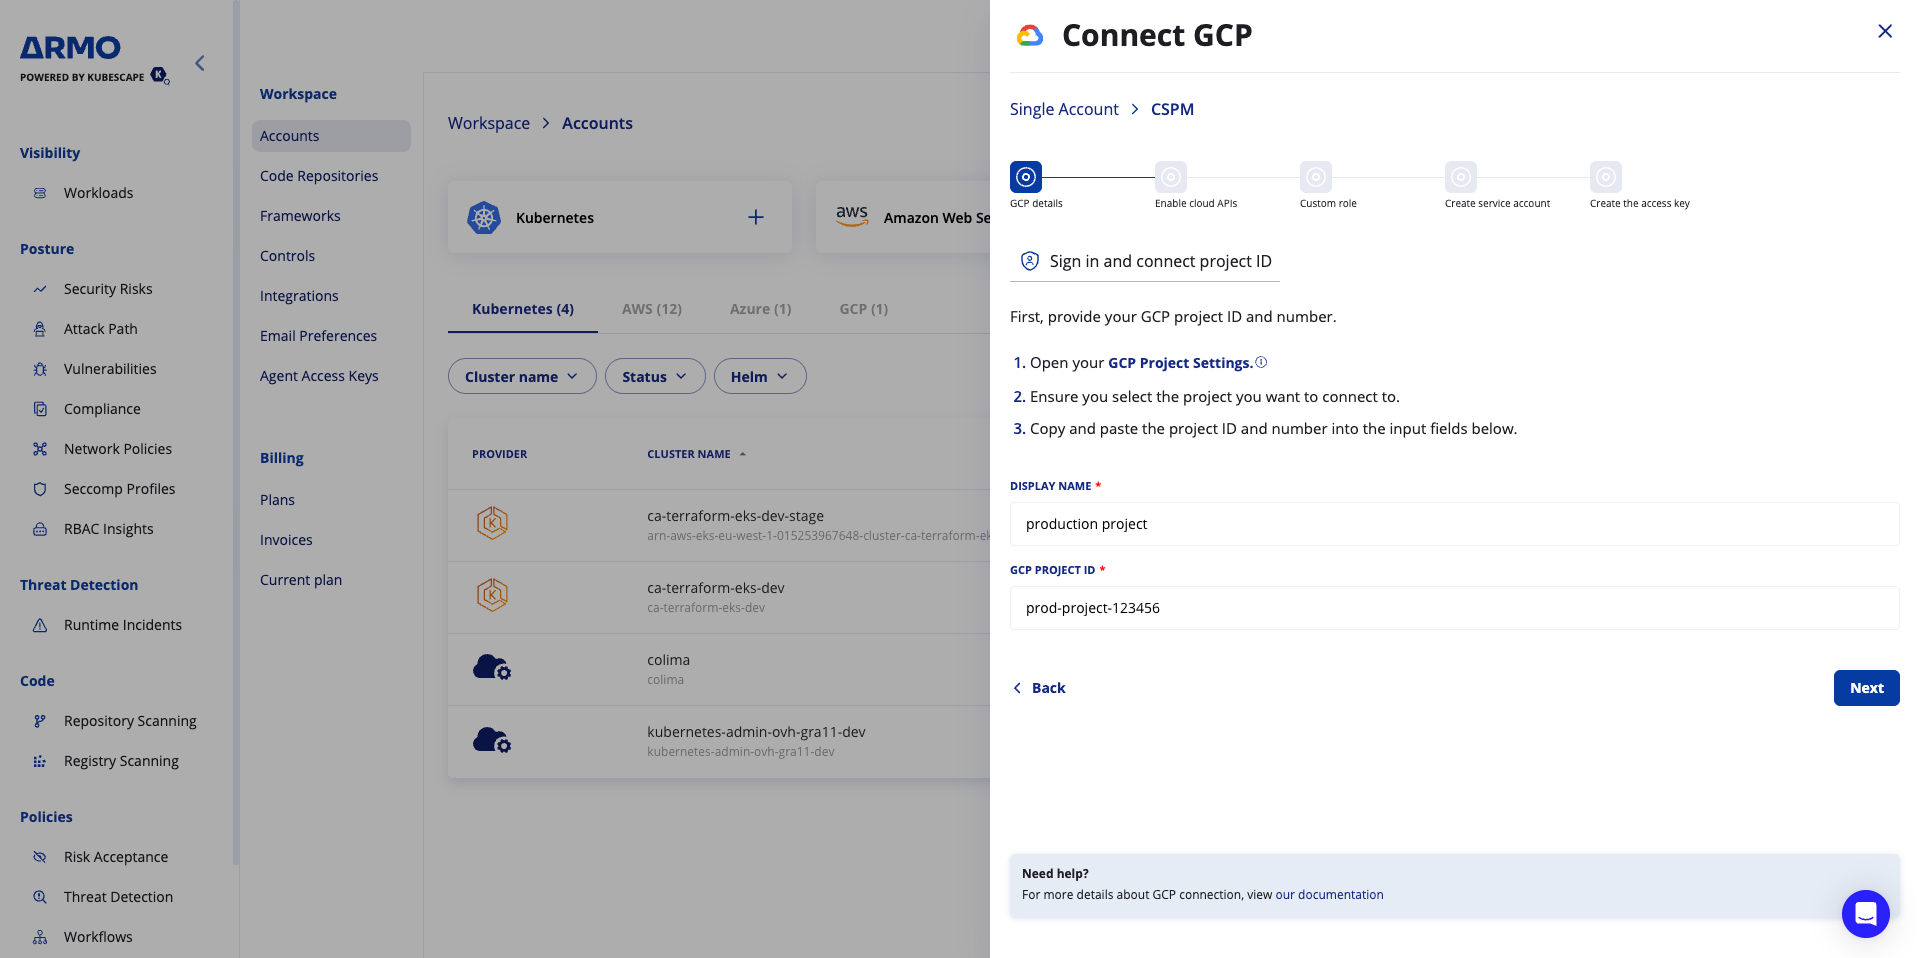
- Get your GCP Project ID
- Enable required GCP APIs
- Create a Custom IAM Role
- Create a Service Account
- Assign required IAM Roles
- Generate a JSON Access Key
- Connect the project in ARMO
[ARMO Platform]
│
▼
[Start Onboarding Wizard]
├── Enter display name and GCP project ID
▼
[Google Console]
├── Enable required APIs
├── Create Custom IAM Role
├── Create Service Account
├── Assign IAM Roles
└── Generate JSON Access Key
▼
[Return to ARMO → Upload Key]
│
▼
[Validation + Discovery]
│
▼
[Continuous Scanning & Compliance Insights]
Integration Steps – Single Project
Step 1 – Get Project ID
- Open Google Cloud Console
- Select the project and Go to Project Settings
- Copy the Project ID
- Paste the project ID in the ARMO platform and provide a display name
Step 2 – Enable APIs
- Click Activate Cloud Shell icon in the top right in the GCP console. At the bottom of your screen, you’ll see an interactive shell where you can enter and run commands.
- Copy the command below, paste it into the interactive shell, and run it. You’ll see a success message once it’s complete.
gcloud services enable serviceusage.googleapis.com cloudresourcemanager.googleapis.com iam.googleapis.com compute.googleapis.com storage.googleapis.com bigquery.googleapis.com sqladmin.googleapis.com container.googleapis.com dataproc.googleapis.com dns.googleapis.com cloudkms.googleapis.com apikeys.googleapis.com logging.googleapis.com monitoring.googleapis.com accessapproval.googleapis.com essentialcontacts.googleapis.com containeranalysis.googleapis.com containerscanning.googleapis.com cloudasset.googleapis.comStep 3 – Create Custom Role
-
Go to IAM & Admin → Roles
-
Click + Create Role
-
Enter a Title, Description, ID, and Role launch stage for the role.
-
Add permission:
storage.buckets.getIamPolicy -
Click Create
Step 4 – Create Service Account
-
Go to IAM & Admin → Service Accounts
-
Click Create
-
Name it (e.g.
cspm-cloud-security) -
Assign roles:
- Viewer
- Security Reviewer
- Service Usage Consumer
- ARMO CSPM (custom role)
-
Click Done
Step 5 – Create Access Key and Connect
- Open the service account
- Go to Keys
- Click Add Key → Create new key
- Select JSON
- Download the file
- Upload the downloaded JSON file in ARMO
- Click Connect
What Happens Next
ARMO will start:
- Discovering cloud assets
- Evaluating security posture
- Detecting misconfigurations
Initial results typically appear within up to 60 minutes.
Updated 7 months ago